
A Practical Step-by-Step Guide to Decluttering Your Home Effectively
You pull open the kitchen pantry and see a stack of empty cereal boxes, a handful of old spices, and a lone tin of beans that’s been there for months. That moment of surprise often signals a deeper habit of letting things accumulate unnoticed.
This guide walks you through a practical, step-by-step process that turns overwhelm into manageable actions, starting with a quick visual sweep, then sorting into keep, donate, sell, or toss, and finally giving each category a dedicated home.
This process requires consistent effort and will likely feel tedious during the first few sessions. You will establish a clear roadmap to follow room by room. The next time you open a drawer, you will see order instead of chaos.
You will also learn how to set realistic time blocks, keep a “one-in-one-out” rule, and acknowledge small steps so the habit stays intact.
Step 1: Set Realistic Expectations and Goals
Stacks of mismatched mail and half-used kitchen gadgets crowd your countertops, making it hard to locate anything you need.
Before you pull items out, picture the exact openness you want in each room.
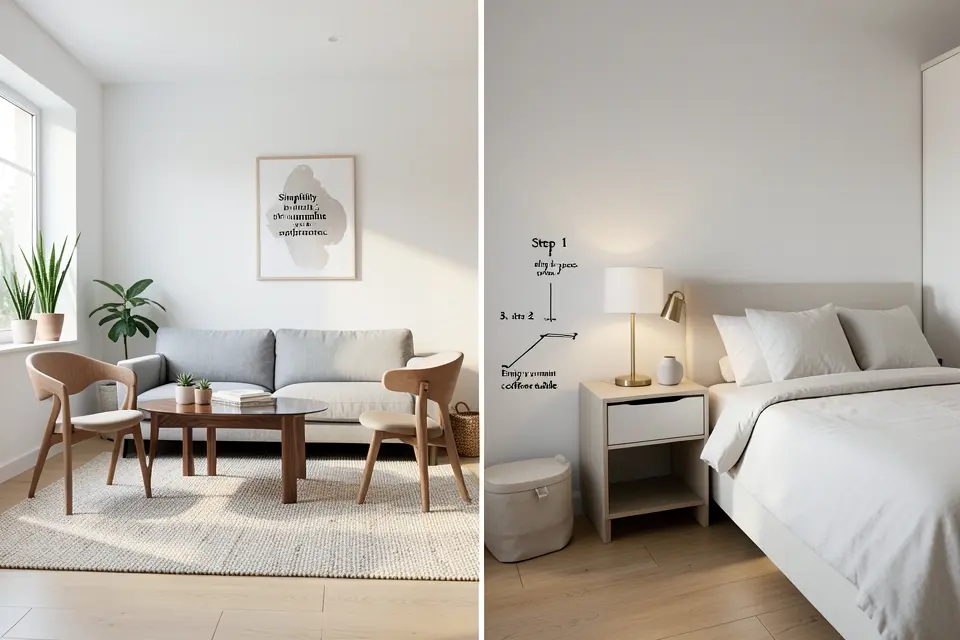
A realistic goal is a living room that holds a coffee table, two chairs, and no stray decor.
A realistic bedroom keeps only clothing, a nightstand, and one lamp. Treat this planning phase as small milestones rather than a marathon.
Planning first delays the quick thrill of discarding items, which can make the initial steps feel slow and unexciting. However, this delay stops early burnout.
List the three rooms you will start with and the maximum number of items each can hold.
Draft a one‑page list of the top three areas you want usable by week’s end
Clear zones reduce daily friction for busy professionals and families. Sketch each zone on a floor plan and set a deadline to keep no more than five loose items inside.
Step 2: Choose Your Starting Zone Wisely
In a bedroom closet, pull out the top shelf and lay every item on the floor. Seeing the entire collection at once makes it easier to judge each piece without the distraction of hanging clothes. A shelf the size of a shoebox ensures the job stays under ten minutes.
A tiny, low-stakes zone like that shelf gives you a win in minutes, which helps build momentum for bigger jobs.
However, this quick success will not clear the cluttered look of your living room sofa area, meaning visual chaos remains in your main high-traffic spaces. Pick a spot that fits your schedule.
A five-minute pull-out is easier than a full-room sweep.
Set a timer for 15 minutes and stop when it rings, even if the drawer isn’t completely sorted.
Alternative: Start with the kitchen countertop that holds mail. Clearing this surface removes daily visual noise.
Step 3: Empty the Designated Area Completely
A heap of books, coffee mugs, and loose socks blankets the floor of your bedroom. Seeing everything spilled out makes the space feel like a temporary storage unit.
Pulling every item out reveals exactly what you own and prevents you from slipping items back into hidden corners.
The short-term downside is a chaotic, overwhelming mess, but this temporary disorder is necessary to start the sorting phase.
Start at one corner and work clockwise, placing each object on the cleared floor. If an item belongs to another room, set it aside in a labeled box for later relocation.
Use a large laundry basket to gather similar items quickly, then dump them back onto the floor for easy categorizing.
Alternative: If you rent and cannot move furniture, lay a drop cloth on the floor, pull items onto it, and sort them there to keep the room’s layout unchanged.
Step 4: Apply Critical Questions to Each Item
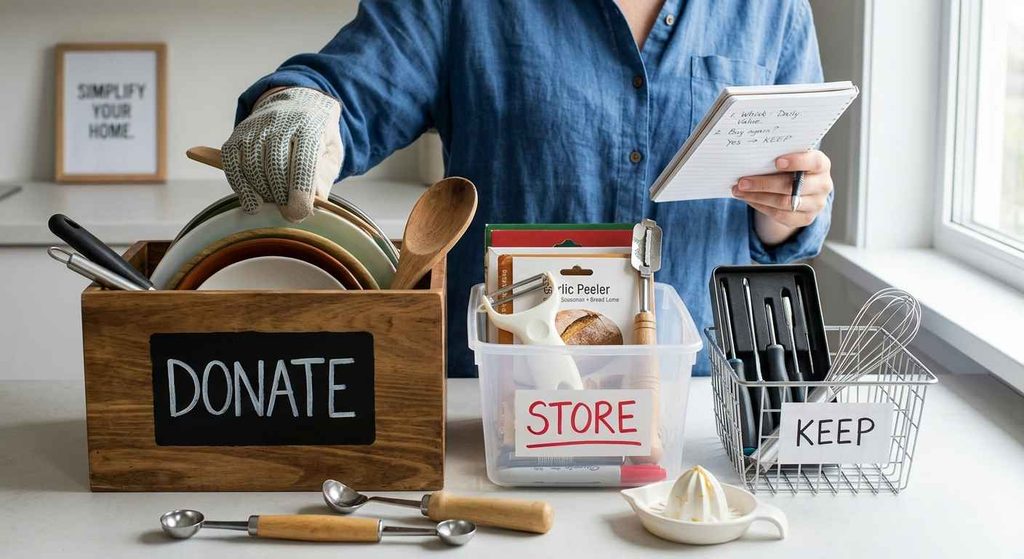
You are holding a stack of mismatched kitchen gadgets and wondering which ones truly belong in your drawers.
Ask four questions: When was the last use?. Does it serve a purpose? Does it add real value?. Would I buy it today?
A mug untouched for six months fails the “last used” test, so it belongs in a discard box. A screwdriver set you reach for daily passes all four questions, which confirms its spot on the shelf.
These questions speed up the purging process and curb hesitation. You might still discard a seasonal piece you will need later, so calculate its replacement cost before letting it go.
Keep a notebook and jot each answer beside the item name.
Alternative: Use three bins labeled Keep, Donate, and Store, and only apply the questions to the Keep pile.
Before sealing the Donate bin, photograph each item and email the images to a friend who might need them.
Step 5: Handle Sentimental Items with Strategy
While a kitchen drawer can hold unlimited utensils, a sentimental box should never exceed a set volume.
Reserve one medium-sized cardboard box, label it “Sentimental,” and remove one item for every new piece you add.
This rule protects your living space, but it forces you to confront memories you may prefer to avoid.
The physical limit stops the box from becoming hidden clutter, even though these decisions are emotionally taxing.
Busy professionals juggling work and home save mental bandwidth with this method. Families with children also benefit, as the practice teaches early sorting habits.
Revisit the box every six months to confirm it stays within the original volume and avoid hidden buildup.
Alternative: Keep a digital photo archive of beloved items and retain only the physical piece with the strongest tactile connection.
Step 6: Clean and Reorganize Your Space
A clear acrylic storage bin displays contents at a glance, which simplifies organization after decluttering. Its transparency also reduces the urge to buy matching opaque containers.
Yet the sleek look often leads shoppers to splurge on pricey specialty bins that add little functional value.
Sweep or vacuum the emptied area before anything returns, because dust settles quickly in vacant corners.
Renters can protect their deposit by cleaning with a damp microfiber cloth instead of harsh chemicals.
Place only the items you decided to keep, grouping similar things like kitchen utensils or office supplies together for quick access. In small apartments, limit each zone to one or two bins to avoid crowding.
Use a label maker to print uniform tags that stick inside each bin for instant ID.
Acrylic bins can scratch if stacked with heavy items, so place lighter goods on top to extend their life.
Step 7: Immediately Remove ‘Out’ Piles from Your Home
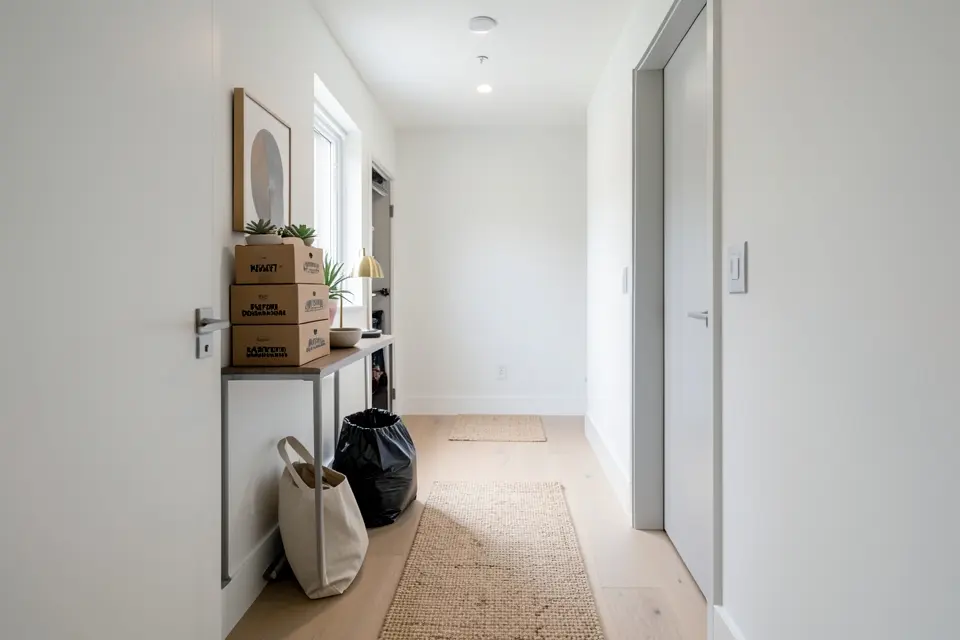
A pile of donation boxes gathering dust by the front door signals that the decluttering process has stalled.
Driving to the charity shop finishes the job immediately, but you lose the potential income from selling those items online.
Grab a trash bag, discard the waste, and return each relocated item to its proper drawer before leaving the room. This routine prevents “out” piles from becoming a permanent storage zone.
Keep a reusable tote by the exit and fill it each time you finish a room
Listing items online for a small profit requires taking photos and scheduling meetups, which can extend your project by several days.
Clear these piles quickly to keep mental clutter low while you finish other rooms.
Alternative: Schedule a curbside donation pickup. This option eliminates the drive but rules out any resale profit.
Your Next Step
Remember, the most powerful part of the process is the simple four-box sort, where everything goes into keep, donate, sell, or trash before it finds a home.
A common pitfall is trying to clear an entire room in a single weekend, which often leads to physical fatigue and half-finished piles. Instead, set a timer for 30 minutes, finish one box, and pause.
Consistent pacing turns this routine into a natural part of your daily flow. Pick a single drawer today, apply the four-box method, and establish lasting order in your home.
Frequently Asked Questions
What is the 3-3-3 rule for decluttering?
The 3-3-3 rule suggests you identify 3 items to throw away, 3 items to donate, and 3 items to put back in their proper place each day.
In what order should I declutter my house?
Start with the least sentimental or most chaotic areas first to build momentum and avoid getting bogged down by emotional attachments.
What should I remove first when decluttering?
Begin by removing obvious trash, broken items, or anything that clearly no longer serves a purpose.