
17 Incredible Home DIY Projects for Any Budget & Any Space
From cozy apartments to spacious homes, DIY projects can breathe new life into any area. Here’s a sneak peek at 17 incredible home DIY projects that cater to any budget and space, helping you turn your house into a dream home. Whether you’re looking to revamp your bedroom, kitchen, or backyard, these projects are perfect for anyone looking to add a personal touch.
Idea 1: Create a Stunning Accent Wall (Paint or Removable Wallpaper)
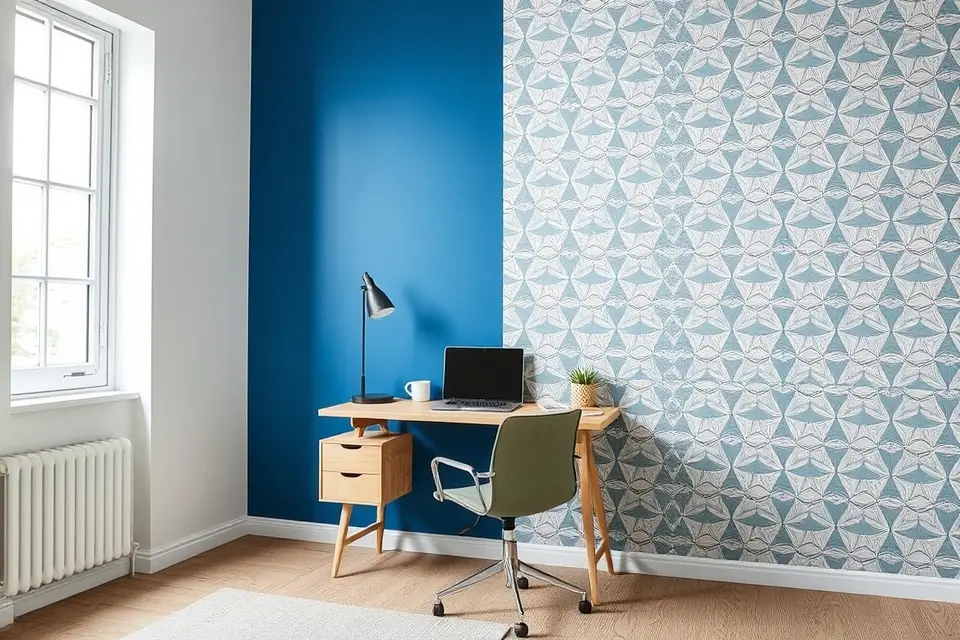
Adding a pop of personality to a room can be as simple as painting one wall a bold, eye-catching color or applying a stylish removable wallpaper. This easy DIY project is perfect for renters and homeowners alike, as it’s completely reversible and requires minimal investment. A vibrant accent wall can instantly elevate the ambiance of a space, making it feel more dynamic and inviting.
For a paint-based accent wall, choose a color that complements the existing decor, yet adds a touch of contrast to create visual interest. Consider the mood you want to evoke in the room – calm and soothing, or energetic and lively – and select a hue that reflects that atmosphere.
Removable wallpaper is another great option, offering a wide range of patterns and designs to suit any style or taste. From geometric patterns to nature-inspired motifs, the choices are endless, and the best part is that it won’t damage the walls when removed. To ensure a seamless application, make sure to clean and dry the wall thoroughly before applying the wallpaper.
When selecting a removable wallpaper or paint color, think about the overall aesthetic you want to achieve in the room, and don’t be afraid to experiment with different options until you find the perfect fit. With a little creativity and patience, you can create a stunning accent wall that adds personality and style to any space, making it truly feel like your own.
Idea 2: Install Stylish Floating Shelves
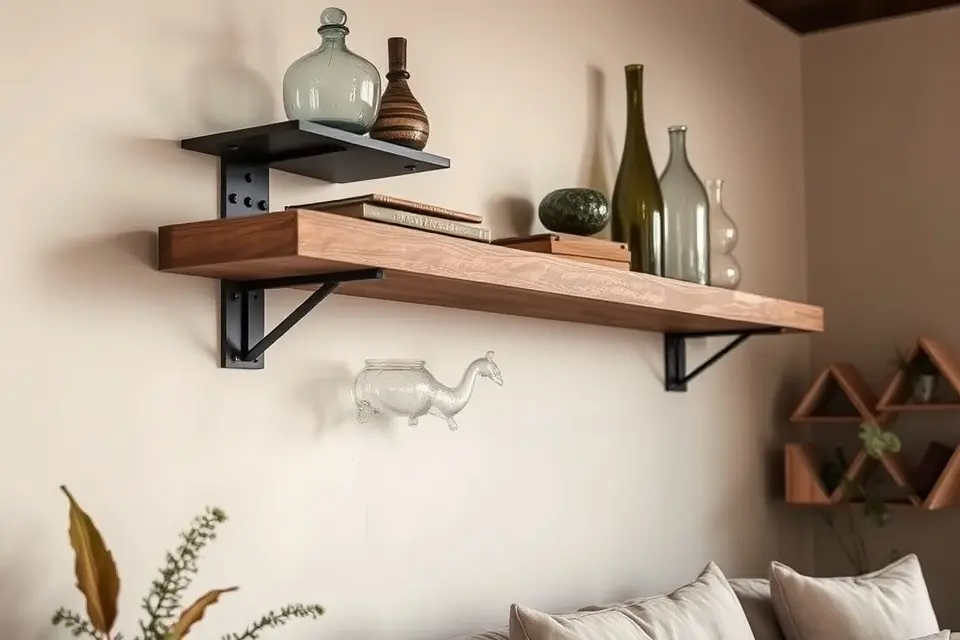
Floating shelves are a game-changer for any room, adding a touch of elegance while keeping your floors and surfaces clutter-free. By installing custom floating shelves, you can maximize your vertical space and showcase your favorite decorative items, from vintage collectibles to modern artwork.
In the living room, floating shelves can be used to display books, framed photos, or decorative objects, creating a cozy and inviting atmosphere. To add a personal touch, consider mixing different materials and textures, such as wood, metal, or glass, to create a unique and eye-catching display.
When it comes to the bedroom, floating shelves can be used to store and showcase personal treasures, like jewelry, perfumes, or favorite novels. You can also use them to add a touch of greenery to your space by placing potted plants or a vase with fresh flowers on the shelves.
To get started, choose a wall in your kitchen, bedroom, or living room and decide on the number and size of shelves you need, taking into consideration the items you want to display and the overall aesthetic you want to achieve.
Idea 3: Start an Indoor Herb Garden in a Jar or Planter
Imagine stepping into your kitchen, surrounded by the fragrance of fresh basil and rosemary, without having to venture outdoors.
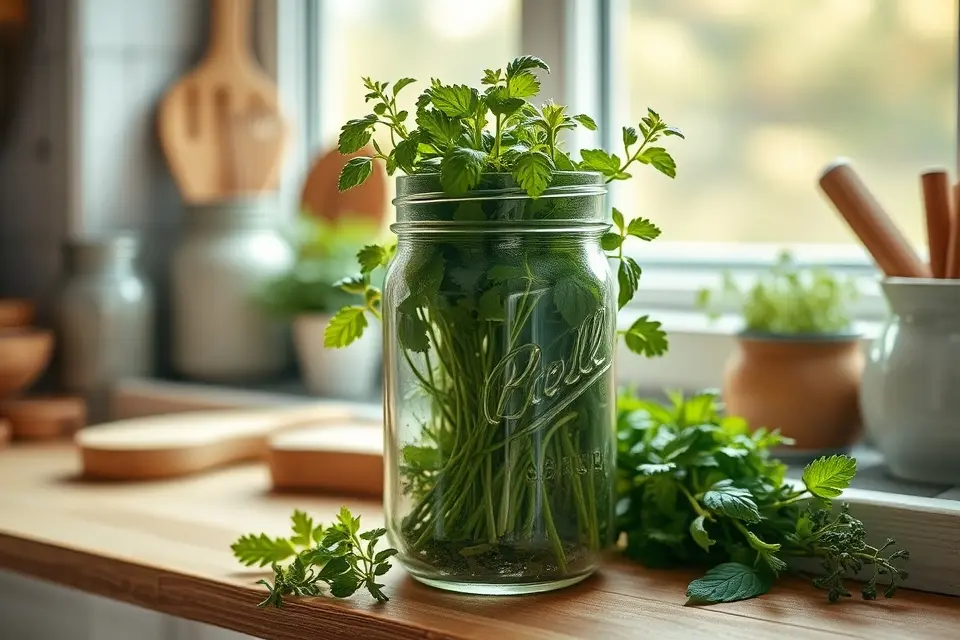
Starting an indoor herb garden in a jar or planter is a simple yet rewarding DIY project that can bring a touch of nature into even the smallest of spaces. With minimal investment, you can cultivate your favorite herbs year-round, adding fresh flavors to your cooking and a pop of green to your decor.
To get started, choose a sunny windowsill or counter and select a few of your favorite herbs, such as parsley, thyme, or mint. You’ll need a jar or planter with good drainage, some potting soil, and a bit of creativity. Consider repurposing an old mason jar or vintage planter to add a personal touch to your garden.
As your herbs grow, you’ll be able to snip off fresh leaves to add to your favorite dishes, from salads and soups to marinades and sauces. Plus, the process of nurturing your plants can be a therapeutic escape from the hustle and bustle of daily life.
To keep your herb garden thriving, remember to water your plants when the soil feels dry to the touch, and give them a good dose of sunlight each day.
With a little care and attention, your indoor herb garden will flourish, providing you with a constant supply of fresh flavors and a beautiful display of greenery to brighten up your kitchen.
Idea 4: Upcycle Old Furniture with a Fresh Coat of Paint
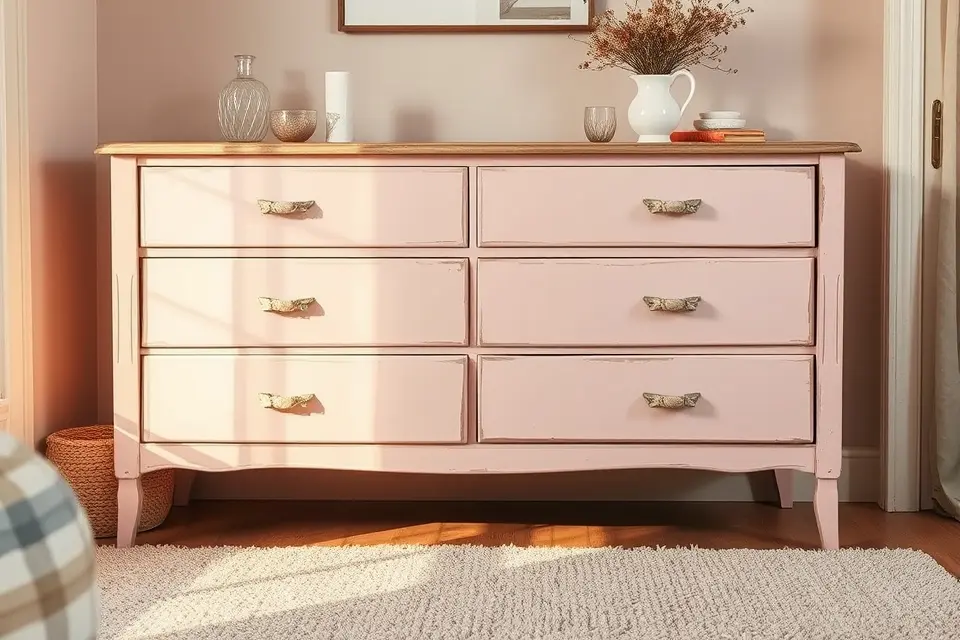
Breathing new life into old furniture is a great way to add character to any room, and with a fresh coat of paint, the possibilities are endless. Consider transforming an outdated dresser into a chic statement piece for your bedroom, or turning a worn-out table into a unique coffee table for your living room. A soft, pastel shade can give your furniture a soft, vintage look.
A bold, bright color can completely revamp the look of an old chair, making it a focal point in any room. When choosing a color, think about the overall aesthetic you want to achieve in your space and select a hue that complements your existing decor.
For a more dramatic look, consider painting only the drawers or shelves of your furniture, leaving the rest of the piece in its original state.
To take your upcycled furniture to the next level, don’t forget to update the hardware. Replace old knobs and handles with new, stylish ones that match your freshly painted piece. This simple swap can make a huge difference in the overall look and feel of your furniture, giving it a polished, high-end appearance.
Idea 5: Design a Personalized Gallery Wall
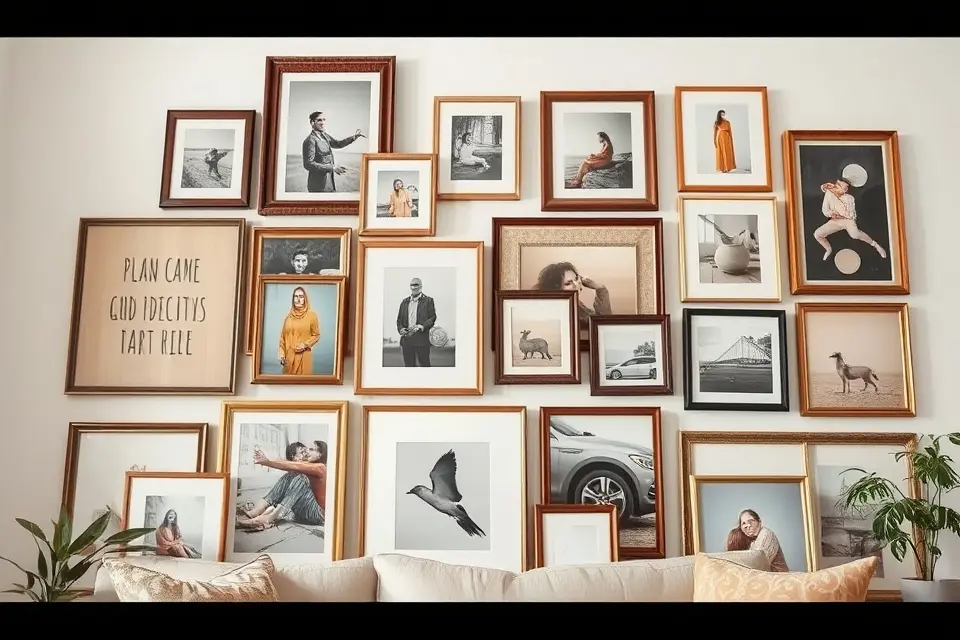
Transforming an empty wall into a vibrant showcase of memories and art can be a thrilling DIY project. By curating a collection of photos, prints, and artwork that resonate with your personality, you can create a one-of-a-kind gallery wall that tells your story.
Start by gathering a mix of frame styles, shapes, and sizes to add depth and visual interest to your wall.
To begin, select a few statement pieces that hold special meaning, such as a black and white family photo or a vintage map. These anchor pieces will help guide your overall design and theme. Consider the color palette and textures of the frames and artwork to ensure a cohesive look.
As you arrange your pieces, don’t be afraid to experiment and play with different layouts. You can use a level and a pencil to lightly mark the wall with a grid or a rough outline of your design. This will help you achieve a balanced composition and avoid any crooked hangings.
By taking the time to thoughtfully curate and arrange your gallery wall, you’ll create a beautiful and personalized space that reflects your unique style and character, making it a true focal point in any room.
Idea 6: Set Up a Dedicated Coffee or Tea Station
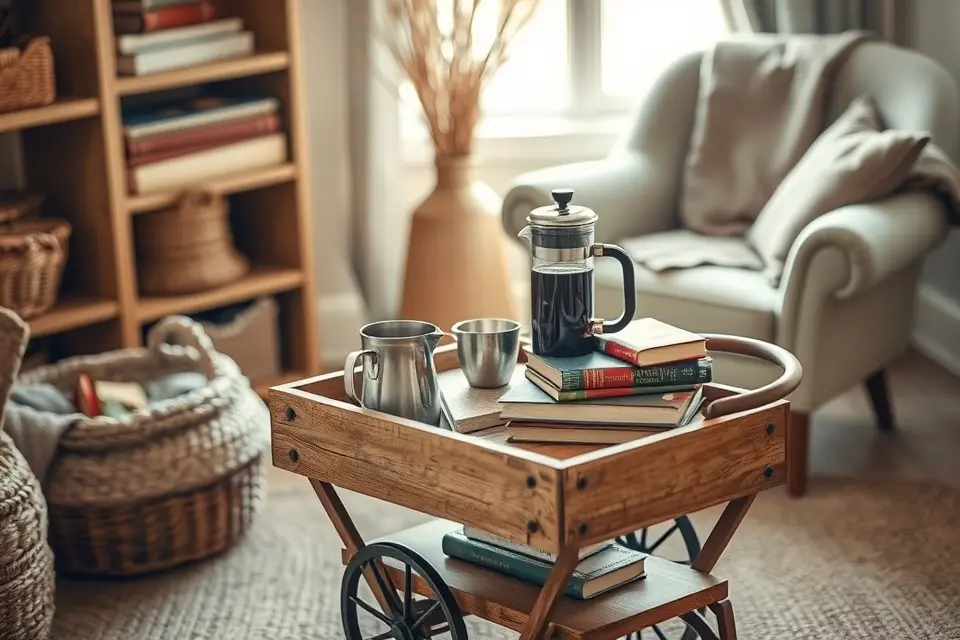
Transform your morning routine into a delightful experience with a dedicated coffee or tea station that exudes warmth and character.
Whether you’re a coffee aficionado or a tea enthusiast, a thoughtfully designed station can elevate your daily ritual. Consider repurposing an old cabinet, a vintage tray, or a compact cart to create a cozy nook that holds all your essentials.
A small cart with wheels can be a great option, allowing you to easily move your station to any corner of your home. You can fill it with your favorite mugs, a French press, or a teapot, and even add a few sweet treats to start your day off right. To add a personal touch, decorate your station with a few favorite quotes, a vase with fresh flowers, or a petite plant.
For a more rustic look, opt for a wooden tray or a repurposed wooden crate, and fill it with an assortment of tea tins, coffee beans, or artisanal spices. This will not only add a touch of warmth to your station but also create a beautiful visual display. As you set up your station, remember to leave some space for a few favorite books or a magazine to enjoy during your morning moments.
As you sip your coffee or tea, surrounded by the comforts of your carefully curated station, you’ll feel grateful for the simple pleasures in life. To make the most of your station, try to keep it organized and clutter-free, and don’t hesitate to experiment with different layouts and decor until you find the perfect blend of form and function that reflects your unique style.
Idea 7: Build an Entryway Command Center
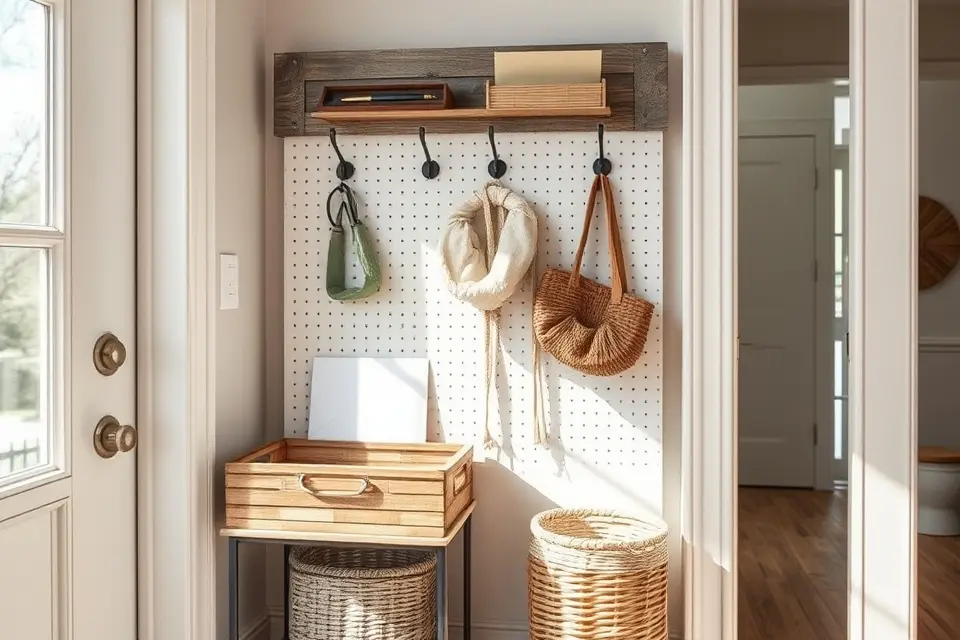
Creating a dedicated spot to keep your essentials in order can be a game-changer for any home. A command center near your front door is the perfect place to corral keys, mail, and other everyday items that tend to get lost in the chaos. By building one, you’ll save time and reduce stress every time you’re heading out the door.
This clever DIY project can be tailored to fit any space, from a compact apartment to a sprawling house. You can repurpose an old shelf, use a pegboard, or even create a custom storage unit that fits your unique needs. The key is to keep it simple, functional, and visually appealing.
To get started, consider what you need to store and how you want to access it. Do you need hooks for hanging keys, a tray for catching mail, or a bin for stashing small items? Think about the materials you have on hand and get creative with repurposing old items.
By investing a little time and effort into building an entryway command center, you’ll create a handy hub that keeps your essentials organized and within easy reach, making your daily routine a whole lot smoother.
Idea 8: Craft Custom Throw Pillows (No-Sew Options Available)
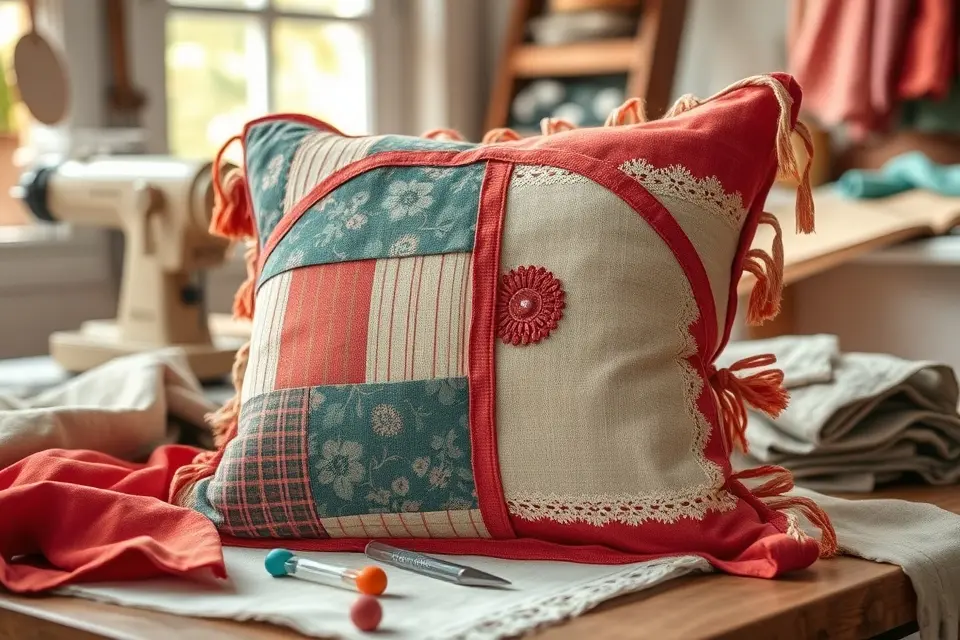
Adding a personal touch to your living space can be as simple as crafting custom throw pillows that reflect your unique style. With a plethora of fabrics, textures, and colors to choose from, the possibilities are endless, and you can easily match your new pillows to your existing decor. To get started, gather your favorite fabrics, scissors, and a staple gun or needle and thread.
For those who are not keen on sewing, there are plenty of no-sew tutorials available that use innovative techniques like fabric glue, hot glue guns, or even safety pins to secure the fabric in place. These methods are not only easy to learn but also allow for a lot of creativity and flexibility in your design. You can choose to use a single bold pattern or mix and match different textures and colors to create a unique look.
One of the best things about making your own throw pillows is that you can customize them to fit any space or budget. Whether you’re looking to add a pop of color to your sofa, create a cozy reading nook, or simply refresh your bedroom decor, custom throw pillows can make all the difference. Plus, they make great gifts for friends and family who appreciate handmade items.
To take your custom throw pillows to the next level, consider adding embellishments like ribbons, buttons, or tassels to give them a more polished look. With a little creativity and some basic crafting skills, you can create beautiful and unique throw pillows that reflect your personal style and add a touch of warmth and personality to any room in your home.
Idea 9: Create a Rope-Wrapped Mirror Frame
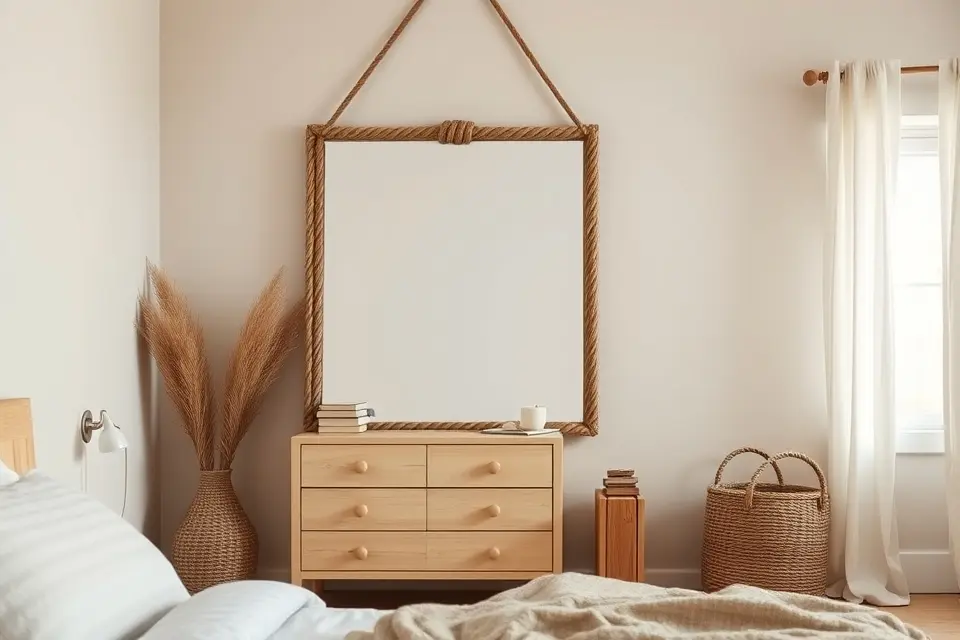
Adding a touch of rustic charm to your home decor can be as simple as revamping a plain mirror. Consider wrapping its frame with natural rope for a quick and impactful update that brings a sense of coastal elegance to any room. This effortless DIY project requires minimal investment, making it perfect for those on a budget.
The natural texture of the rope adds depth and visual interest to the mirror, creating a beautiful focal point in the room. To achieve this look, start by selecting a mirror that fits your space and style, then choose a rope that complements its frame and your home’s aesthetic.
For a cohesive look, ensure the rope color and texture blend seamlessly with your existing decor. You can choose from a variety of rope materials, such as jute, twine, or hemp, each offering a unique character to your mirror frame.
To get started, simply wrap the rope around the frame, securing it with a strong adhesive or nail, and trim the excess for a polished finish, leaving you with a beautifully transformed mirror that reflects your personal style.
Idea 10: Install a Peel-and-Stick Backsplash
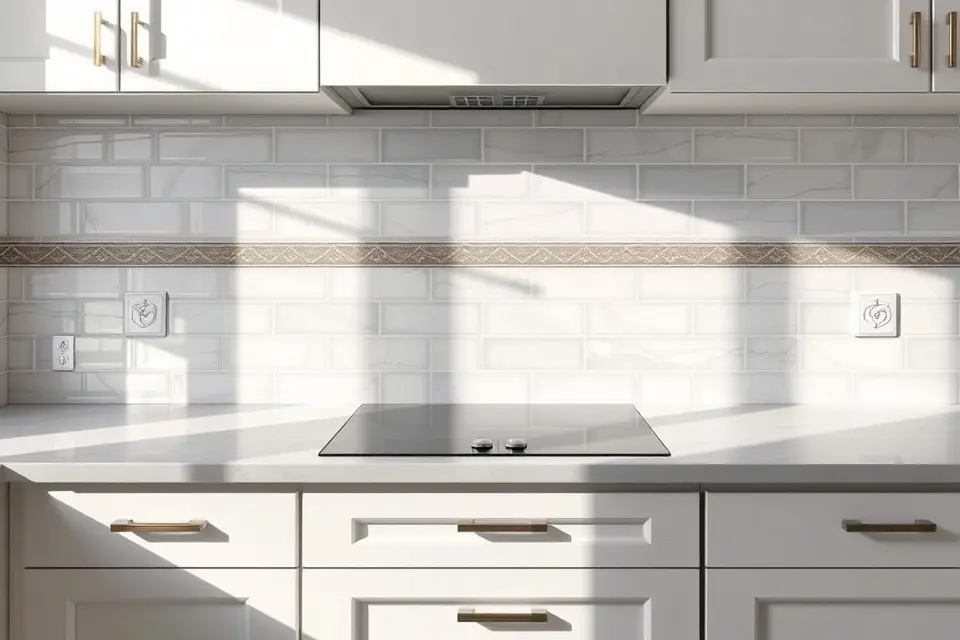
Peel-and-stick tiles have revolutionized the way we think about backsplashes, offering a stylish and effortless solution for kitchens and bathrooms alike.
With a plethora of designs and materials to choose from, you can easily find the perfect fit for your space, whether you’re aiming for a modern minimalist look or a bold statement piece. To get started, simply measure your wall, choose your tiles, and apply them for an instant transformation.
One of the most significant advantages of peel-and-stick tiles is their budget-friendly nature, making them an excellent option for renters or those who don’t want to commit to a permanent installation.
They’re also incredibly easy to remove, leaving no residue or damage to the wall, which is a major plus for those who like to switch up their decor frequently.
For a seamless installation, make sure to clean the wall thoroughly before applying the tiles, and use a level to ensure they’re straight and evenly spaced. This will help you achieve a professional-looking finish without the need for specialized tools or expertise.
Idea 11: Optimize Closet Organization with DIY Solutions
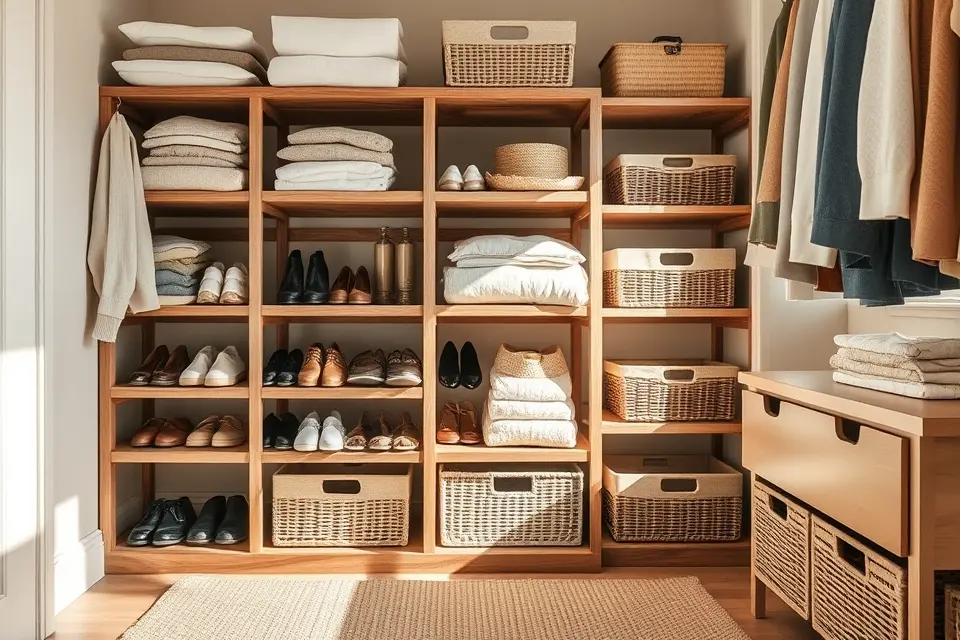
Transforming your closet into a serene oasis can be as simple as adding a few thoughtful DIY touches. Custom shelves, for instance, can be built using reclaimed wood or affordable plywood, providing ample space for folded clothes, shoes, or accessories.
To take your closet organization to the next level, consider incorporating drawer dividers made from cardboard or foam board, which can be cut to size and placed between categories of clothing to prevent clutter from building up.
Repurposed bins are another clever solution for maximizing storage, and can be sourced from items like old baskets, crates, or even plastic containers, then labeled and used to store belts, scarves, or hats.
By implementing these DIY solutions, you can create a closet that not only looks more spacious but also functions more efficiently, making your daily routine easier and less stressful, and all without breaking the bank.
Idea 12: Construct Clever Under-Bed Storage Boxes
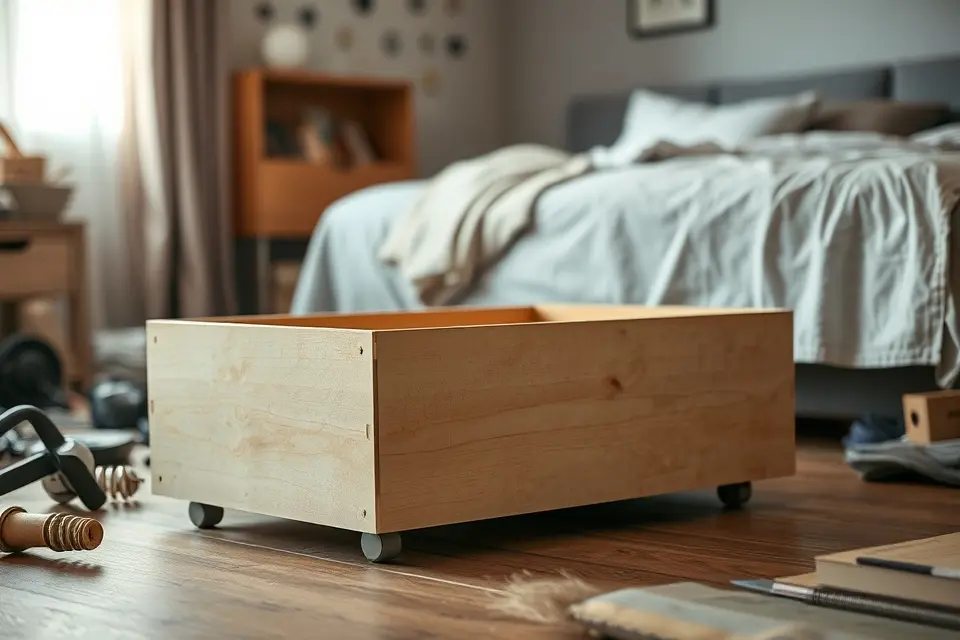
Creating clever under-bed storage boxes is a game-changer for maximizing space in any bedroom. By building custom rolling boxes, you can utilize the often-forgotten area under your bed to store extra linens, out-of-season clothes, or even luggage. This project is perfect for those with limited closet space or a cluttered bedroom floor.
To get started, measure the space under your bed to determine the ideal size for your storage boxes. Consider the height of your bed frame and the type of items you plan to store. You’ll want to choose a durable material, such as plywood or MDF, and add wheels to the bottom of the boxes for easy sliding in and out.
One of the best things about this DIY project is that it can be tailored to fit any budget. You can use reclaimed wood or repurpose old furniture to create your storage boxes, or opt for more expensive materials like solid wood or metal. Either way, the end result will be a clever and functional storage solution that keeps your bedroom clutter-free.
By building your own under-bed storage boxes, you’ll not only gain more space, but also add a touch of personality to your bedroom. Plus, this project is a great way to get creative and experiment with different designs and materials, making it a fun and rewarding DIY experience.
Idea 13: Make Modern Concrete Planters or Coasters
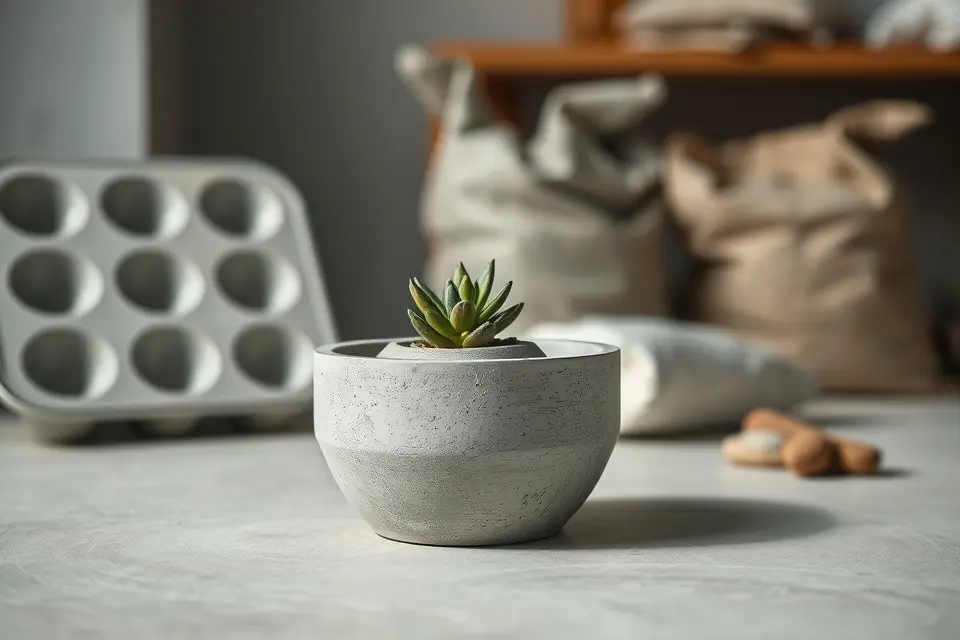
Concrete is an incredibly versatile material that can add a chic, minimalist touch to any room. By mixing it with a little water and patience, you can create modern planters or coasters that are both durable and stylish. To get started, all you need is an inexpensive concrete mix, a mold to shape your creation, and a willingness to experiment.
For a planter, consider using a small plastic container or a silicone muffin tin as a mold, and add a personal touch with a decorative rock or a sprig of greenery. Once the concrete has set, you can seal it with a waterproof coating to protect it from the elements.
To create coasters, simply pour the concrete mixture into a small mold or shape it by hand into the desired form. You can add texture and visual interest by pressing small objects like pebbles or seashells into the surface before it dries. With a little creativity, you can craft unique and functional home accessories that reflect your personal style.
A practical tip for working with concrete is to apply a release agent to your mold before pouring in the mixture, ensuring that your finished piece will come out smoothly and evenly. This simple technique can make all the difference in achieving a professional-looking finish, and it’s a great way to add a touch of handmade charm to your home decor.
Idea 14: Install Command Hook Towel Racks or Entryway Hooks
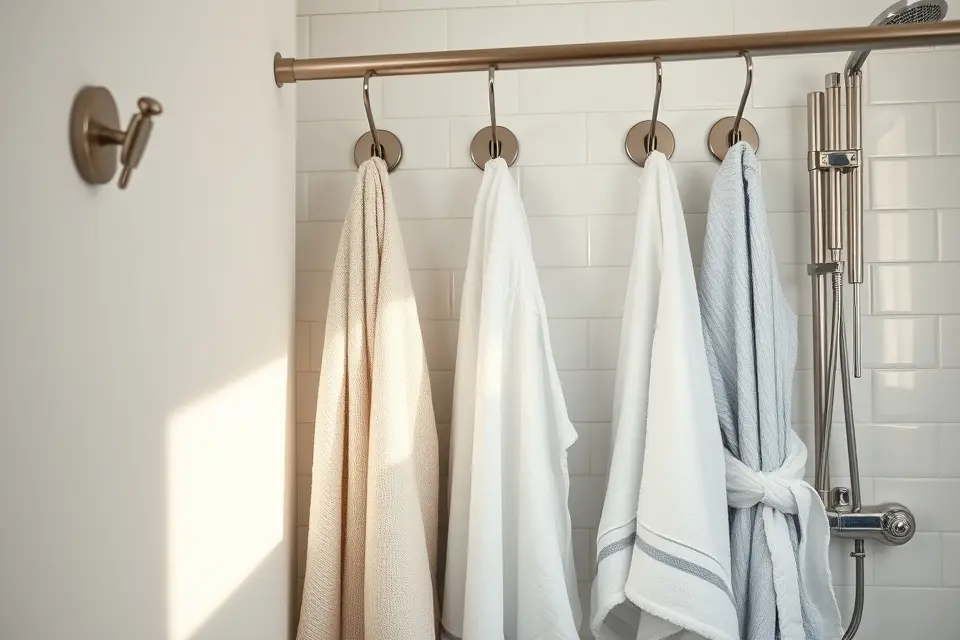
For a simple way to add storage and style to your home, consider using heavy-duty command hooks to create instant towel racks or entryway hooks. These hooks are perfect for renters or anyone looking to avoid damaging their walls, as they are easy to install and remove without leaving any residue.
In the bathroom, command hooks can be used to hang towels, robes, or even a shower caddy, keeping your essentials within easy reach. To get started, choose a spot near your shower or bathtub and attach the hook to the wall, making sure it’s level and secure.
In an entryway, command hooks can be used to hang coats, hats, or bags, keeping your entrance organized and clutter-free. Look for a spot near the door and attach multiple hooks to create a functional and stylish storage system.
To make the most of this project, be sure to choose command hooks that can hold a decent amount of weight, and consider adding a decorative touch, such as a small shelf or a basket, to enhance the overall look and functionality of your new towel rack or entryway hooks.
Idea 15: Design a Faux Shiplap Wall Using Plywood Strips
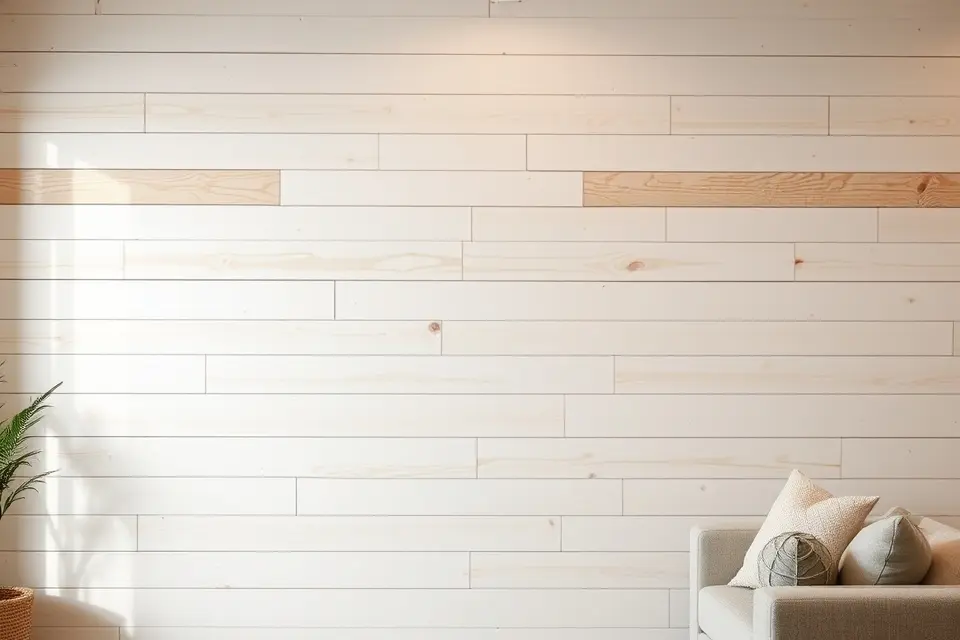
For a touch of rustic charm without the hefty price tag, consider creating a faux shiplap wall using thin plywood strips. This clever DIY hack allows you to achieve the popular farmhouse look on a budget, and it’s surprisingly easy to execute. Simply cut the plywood into strips, typically around 6-8 inches wide, and attach them to your wall using a nail gun or adhesive.
The key to a convincing faux shiplap look is in the spacing and alignment of the strips. Leave a small gap between each strip to mimic the appearance of traditional shiplap, and use a level to ensure they’re perfectly straight. You can also add a distressing effect to the strips for a more authentic, weathered look.
To add some visual interest to your faux shiplap wall, consider painting or staining the strips in a contrasting color to the surrounding walls. This will create a beautiful accent wall that adds depth and character to any room. Plus, the best part is that you can customize the look to fit your personal style and decor.
By using plywood strips instead of traditional shiplap, you can save a significant amount of money on materials while still achieving a stunning, one-of-a-kind look. So why not give it a try and see the transformative power of a faux shiplap wall for yourself?
Idea 16: Update Light Fixtures or Hardware with Spray Paint
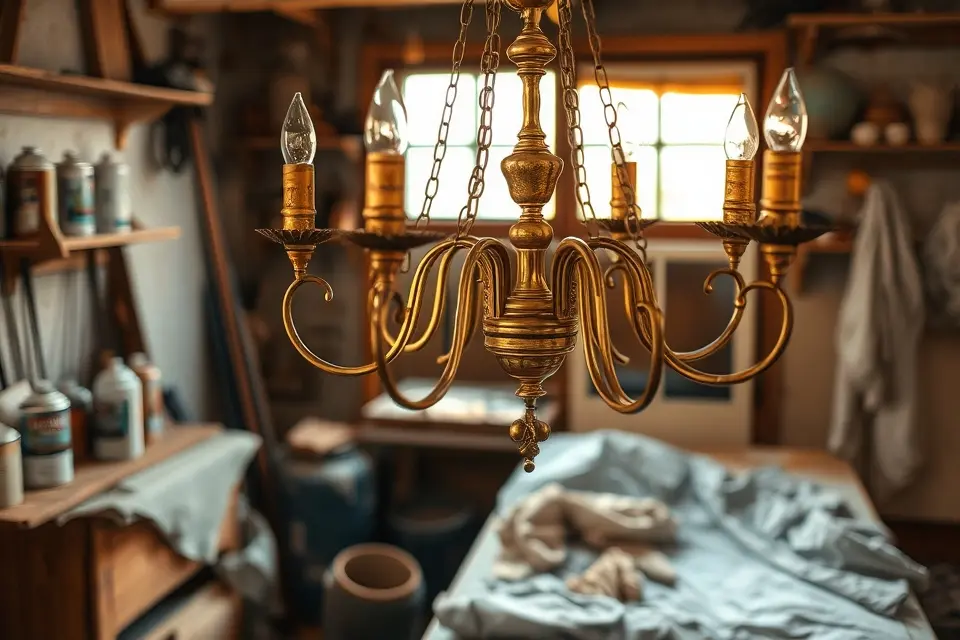
Breathing new life into outdated decor doesn’t have to break the bank or require a full renovation. With a can of spray paint, you can transform light fixtures, door handles, or cabinet pulls from drab to fab in no time. A fresh coat of paint can completely revamp the look of these often-overlooked details, making them blend seamlessly with your updated aesthetic.
The best part about this DIY project is its versatility – whether you’re aiming for a sleek, modern vibe or a rustic, vintage feel, there’s a spray paint color to match. Plus, it’s an eco-friendly alternative to replacing these items entirely, reducing waste and saving you money in the process.
To get started, simply disassemble the fixture or hardware, clean it thoroughly, and apply a primer if necessary. Then, spray on your chosen color, letting it dry completely between coats. The result is a like-new finish that’s sure to impress.
For a fraction of the cost of replacement, you can achieve a high-end look that elevates your entire space. So next time you’re considering swapping out outdated fixtures, try giving them a spray paint makeover instead – your wallet, and the planet, will thank you.
Idea 17: Build a Custom Pet Feeding Station with Storage
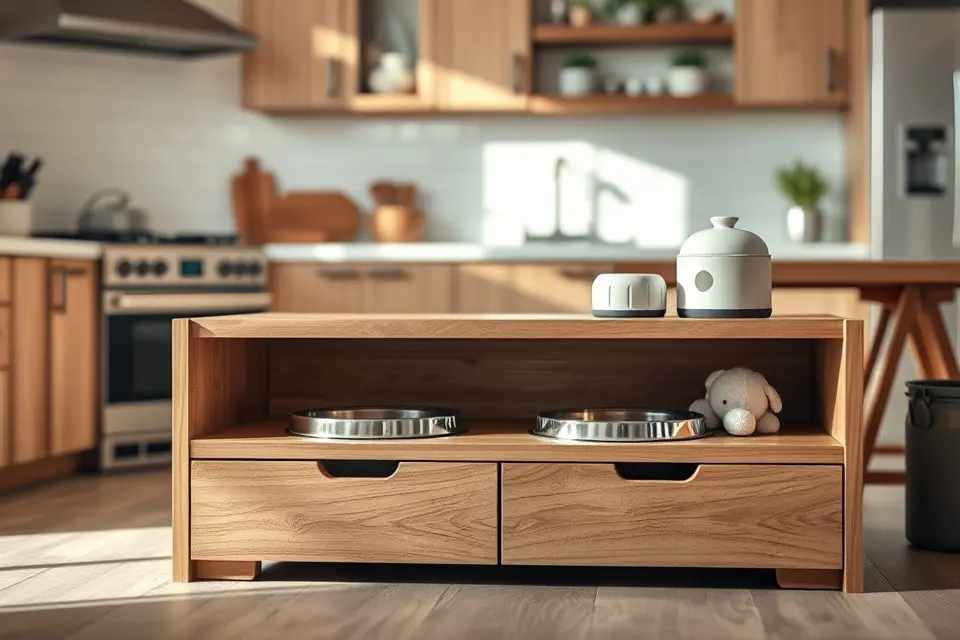
For a thoughtful and practical touch, consider building a custom pet feeding station with storage, perfect for keeping your furry friend’s dining area tidy and organized. This project not only elevates their eating experience but also keeps their food and accessories neatly tucked away, reducing clutter in their home. By designing a station that fits your pet’s specific needs, you can ensure their comfort and happiness.
A well-crafted pet feeding station can be a beautiful addition to your kitchen or dining area, blending functionality with style. Imagine a station with built-in storage for food, toys, and treats, keeping everything your pet needs within easy reach. This not only simplifies mealtime but also makes cleaning up after your pet a breeze.
To get started, assess your space and your pet’s requirements, considering the size and type of storage you’ll need. Choose materials that are durable, easy to clean, and complement your home’s décor. A wooden or plastic station with removable bowls and a convenient storage compartment can be a great option.
By investing time in building a custom pet feeding station, you’re not only creating a more organized and comfortable space for your pet but also adding a personal touch to your home that reflects your care and dedication to their well-being.
Get Crafting
With these 17 DIY projects, you’re ready to start crafting your ideal home. Remember to plan ahead, measure carefully, and have fun with the process. Save this pin for your next DIY adventure and share it with your friends to inspire them to get creative too!
Frequently Asked Questions
What are some easy home DIY projects for beginners?
Beginner-friendly projects include painting an accent wall, creating a gallery wall, making no-sew throw pillows, or installing peel-and-stick backsplash tiles. These require minimal tools and experience.
How can I find DIY project ideas that fit a small budget?
Look for projects that utilize materials you already have (like upcycling old furniture), use inexpensive supplies (paint, rope, command hooks), or involve repurposing items. Many projects can be done for under $50.
Are there DIY projects suitable for small apartments or limited spaces?
Absolutely! Focus on vertical storage solutions like floating shelves, wall-mounted organizers, or entryway command centers. Indoor herb gardens, custom throw pillows, and gallery walls are also excellent for small spaces.
What tools are essential for the most common home DIY projects?
A basic toolkit often includes a measuring tape, level, screwdriver set, hammer, utility knife, drill, and safety glasses. Specific projects might require additional items like a paintbrush, saw, or staple gun.
How can I ensure my DIY projects look professional?
Take your time with preparation, measure accurately, use quality materials, and apply finishes carefully. Watching tutorials, practicing techniques, and investing in basic but reliable tools can also significantly improve results.